What better way to kick off a blog I've been wanting to start for a while than discussing a project I spent years meaning to do and finally did a couple of months ago.
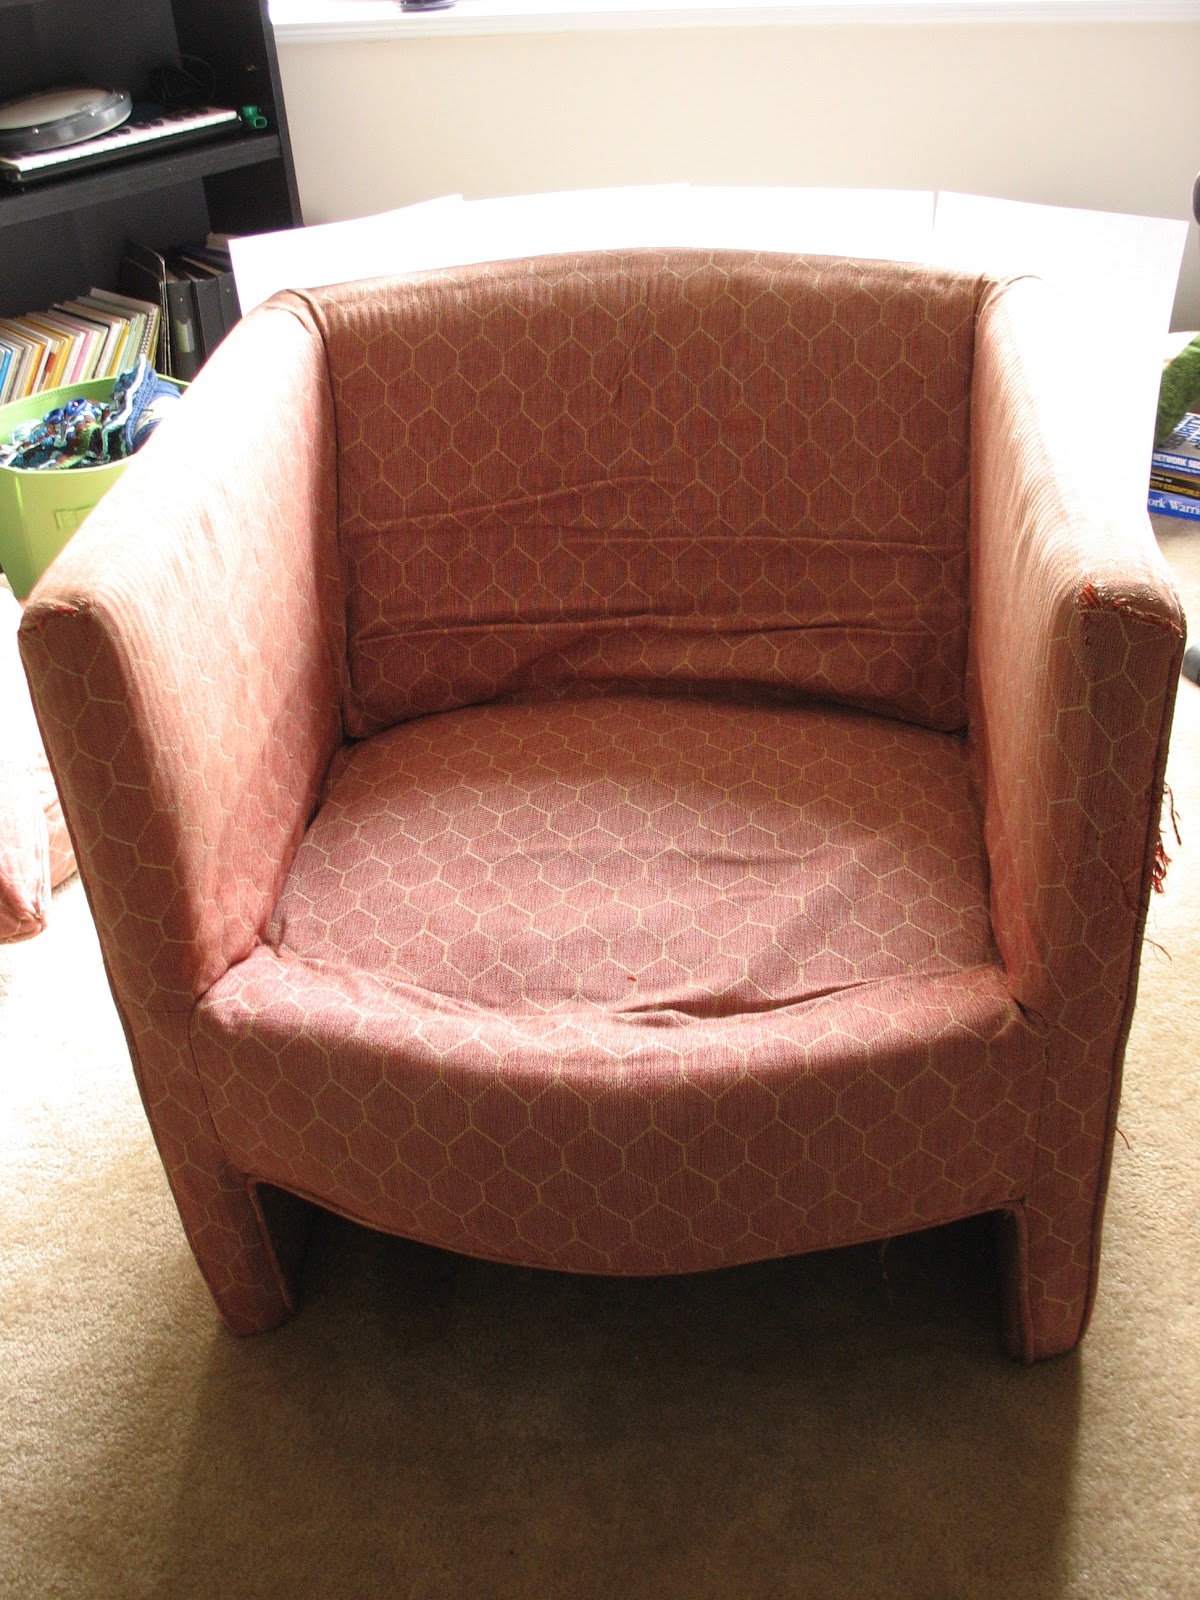 |
| Here's what I started with. |
I promise it does have cushions, one just has to remember to take pictures before vacuuming the years worth of crumbs and dust out of it in the future. Despite it's current appearance this may be one of the most comfortable chairs I've had. Yes the back is low and you can't lean back in it without sitting on the edge with your neck at an odd angle, and yes it's so old that most of the padding is pretty useless. But, when you get all scrunched up sitting sideways with your legs over one of the arms, surrounded by pillows on every side, and with a brand new crochet project or your favorite book in your hands there really is no place like it.
For pretty much the entirety of the four years I've owned this chair I have been intending to make a slipcover for it. I never liked the pink, the cushions had faded from too many years in the sun and there were weird stains from before I even had it, also, it didn't really go with anything I had. (Not that that's generally, or really ever, something I care about, but being a newlywed you start to think that maybe you should care about these things. At least for the time being.) Anyway, after years of meaning to do something about it and never getting around to it I was finally forced into doing something as I had promised my husband that there wouldn't be a pink chair in our living room forever.
My first step was to consult everyone I knew who had sewing experience and had either made a slipcover or recovered furniture in the past. After being assured that it's not that hard and that yes, the way I had it laid out in my mind made sense, I decided to bite the bullet. With my phone ever at the ready to call for immediate assistance I began.
I wanted to do this project as cheaply as possible but as I don't sew much more than alterations at this point I didn't have a ton of fabric around. Here's where I'm going to let you in on a little secret...I used old curtains for the cushions and a tablecloth found at Home Goods for the chair itself. That's right, it's made out of curtains and a tablecloth. Shhh, don't tell!
Again because I don't sew much from scratch I needed a way of making a pattern to cut my pieces out. Luckily I had lots of printer paper and pins on hand.
 |
| This is the side after it's been cut to size. You can see how I worked my way up and over putting pins in to keep the paper to the chair and tape to keep the paper to the paper. |
 |
| I made sure to keep the pins as close to the edge as possible and cut the paper to size as I went while also making sure they stayed taped together. |
 |
| Here's the back before I cut it to size. |
 |
| This is the pattern for the bulk of the chair. I started at the back which is the left side of the picture before continuing forward, across the seat, and eventually to the ground. |
At this point I pinned the patterns I'd made to my fabric and added about an inch on each side for the seams. Unfortunately I don't have any further pictures until the final product as apparently the acts of listening to Irish Pub Rock while cutting, measuring, pinning, and sewing are so exhilerating that the camera was quite forgotten.
Once I'd cut the pieces and hemmed them I placed them on the chair inside out and pinned the adjoining pieces together as closely as possible so that the slipcover would be tight fitting and not move. I made sure to place the combined pieces on the chair frequently to be sure that it fits correctly and so that changes could be made if need be.
Now that the basic cover had been created it was on to the cushions. I found this tutorial incredibly helpful via my awesome crafty friend Mari over at Mari Makes. I followed the directions exactly so that I would be able to easily switch out the cushion covers in the future.
And ta da, we have a finished slip-covered, excitingly comfortable chair!

What I love about this is that the next time I'm wanting to redo it I can just use the current slipcover as my pattern and pretty much be good to go. Because the cushions weren't squares or even perfect rectangles and as I mentioned before the padding is pretty much shot the covers for those are something I would spend more time measuring more exactly next time. You can see in the picture a few spots where the seams don't line up quite right and so it pulls a little oddly, something again to work on fixing for the next time but overall I'm incredibly proud of how it turned out.
Thanks for reading and I hope this encourages anyone who may be looking for a quick change that it can be done (I finished the whole thing in a day) and on the cheap!
No comments:
Post a Comment