I have had this post pinned for quite some time and as it just so happens I had recently gone through my drawers and pulled out a number of shirts to give to the Goodwill. Since I'm not much of a seamstress, yet somehow have lofty ambitions of what I could do, I decided this was a perfect opportunity to try my hand at alterations without running the risk of ruining something I really liked. And thus we begin.
 |
| I started by removing the sleeves from this shirt that stretched the first time I wore it and never went back to it's original shape. :( The goal is to place bows on the shoulders to liven it up a bit. |
 |
| Cut off the wrists and then cut along the seam of the sleeve so it lies flat |
 |
| These eventually hold our bows together |
 |
| I decided to contrast colors and use an old tank top that was too short. So off came the hem. |
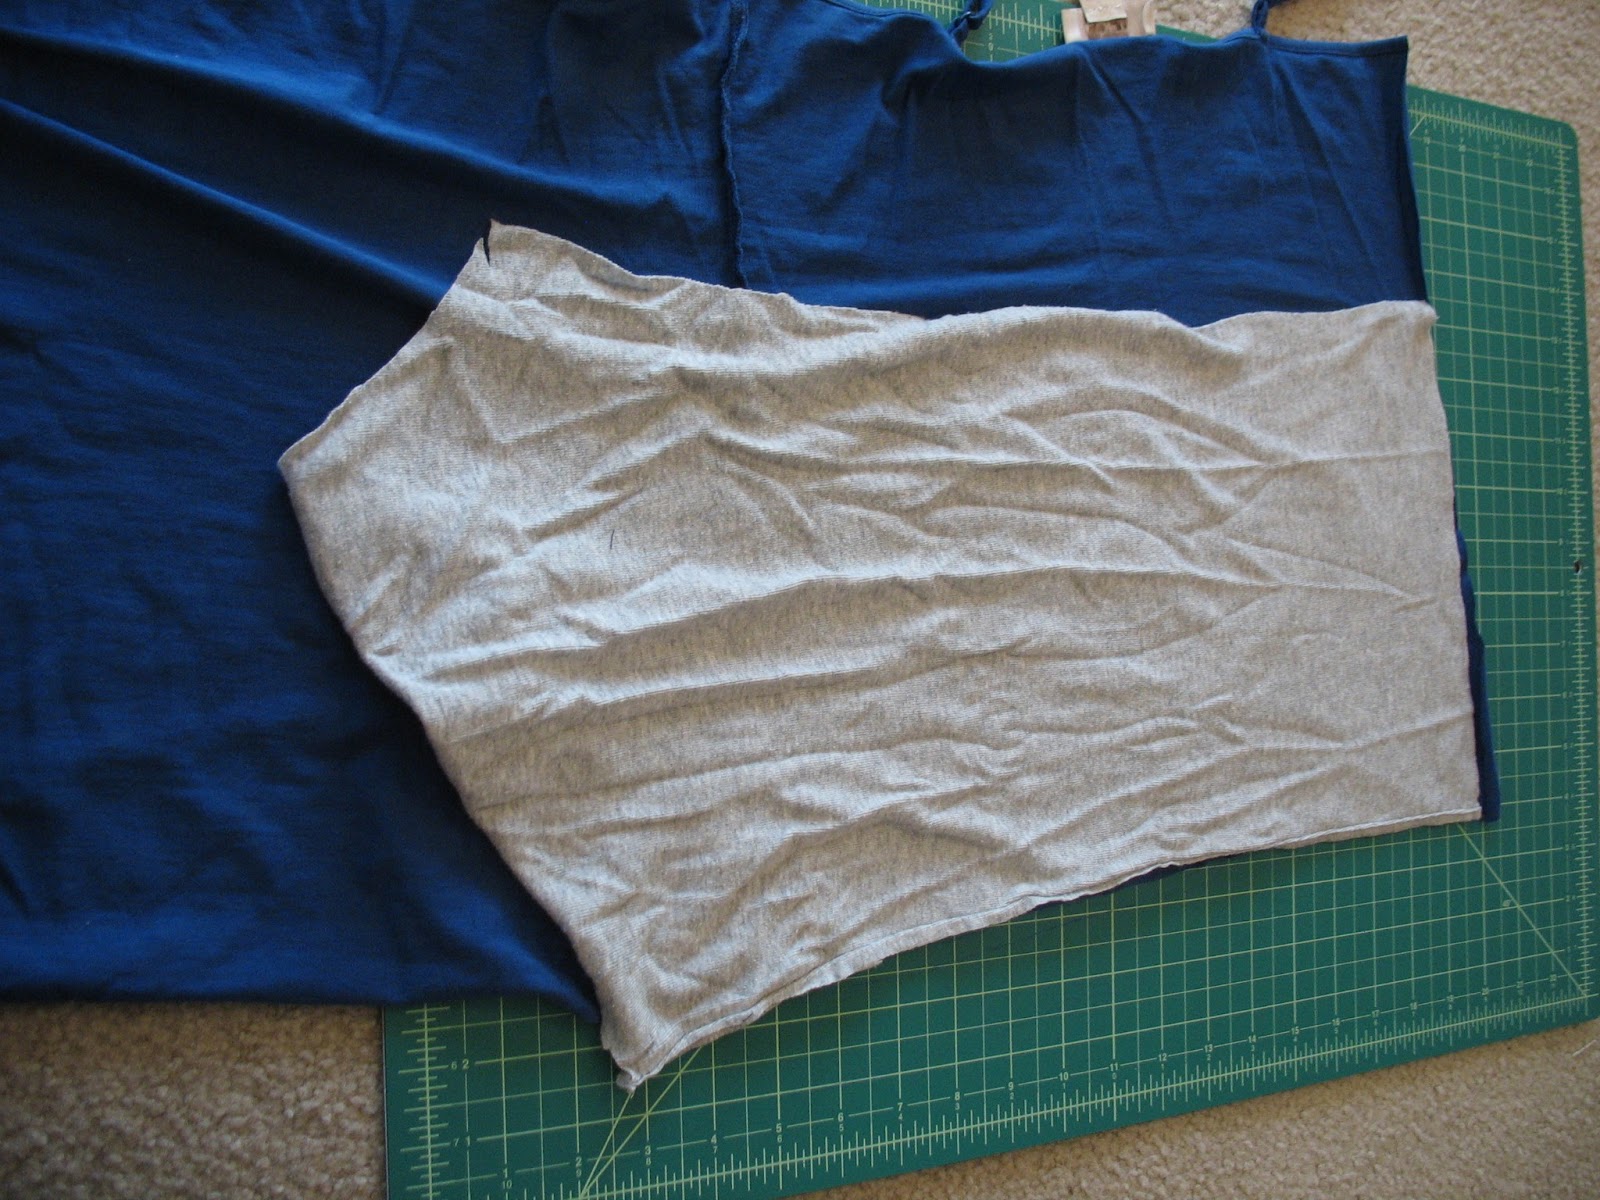 |
| Initially the bows are supposed to be made from the grey sleeves but I decided to complicate things further and use the blue. A pattern was made which I then cut short because the bows were already going to be large and while I forgot I wasn't a bow person I did remember that I probably wouldn't wear it if they were too big. |
 |
| Ta da! I purposely used the bottom as I had other plans for the neckline. |
 |
| Repeat with the other side. |
 |
| My original sleeves had stretched differently so I had to do a little extra cutting to make the bows the same size |
 |
| Remember the end of the sleeve we cut off in the beginning? Yeah, the blue fabric gets scrunched up and then the end piece is used to wrap around and around. |
 |
| Hey look, there are bows! Don't worry if you have to do a little fiddling with them to make them pretty. |
 |
| You can see the slight indent where there used to be buttons on the sleeves. Since there will be large floppy bows I figured that was enough embellishment. |
 |
| The shirt initially stretched in such a way as to create a very deep scoop neck. I was feeling ambitious and decided to fix that while I was at it. I pinned the neckline from the tank top underneath the shirt and then sewed around the seam that already existed on the grey shirt. |
 |
| Once that had been fiddled with for quite some time there was much excess to be cut off. |
 |
| And this is what it ended up looking like when inside out. You can see that I wasn't careful about cutting a nice line mostly because it wouldn't show but also because the fabric was so soft I knew it wouldn't bother me. |
 |
| A pin was put at the top of each shoulder so I'd know where to attach the bows. |
 |
| Once I'd sewed through the center of the bows a number of times and then all around the edges so that it would stay flat on my shoulder it was done. |
Thanks for reading and happy sewing!
No comments:
Post a Comment