The house is getting cozy, gifts are piling under the tree, Christmas letters have been sent, the wall is filling with those we've received, it's Christmas time and I love it! As I shared last week I've been trying to decorate while sticking to the budget. While the
Christmas tree skirt was a pretty big failure in that way, I have come across a fantastic craft with which to decorate your walls or windows that was completely free for me! (Honestly, this happens so infrequently that many shouts of exclamation and excited running around gathering up supplies is incurred when it does.) I present you with...The Popsicle Sick Snowflakes!
These are really pretty simple and all they require are Popsicle sticks, a hot glue gun, and paint. Although the paint could totally be optional as au natural snowflakes would be pretty cool. I found
this tutorial and copied the designs she had. Of course you could make whatever you wanted, you could even use mini Popsicle sticks and do small ones for the windows...hmm, ideas for next year are forming!
 |
| Popsicle sticks left over from making our wedding programs finally have another use! Huzzah! |
 |
| I tried two different methods for painting the sticks. The white I did each stick individually before putting them together. Two coats on each side. |
 |
| The green one I tried putting it together and then painting. I found it easiest to put sticks together in small shapes before forming larger shapes. |
 |
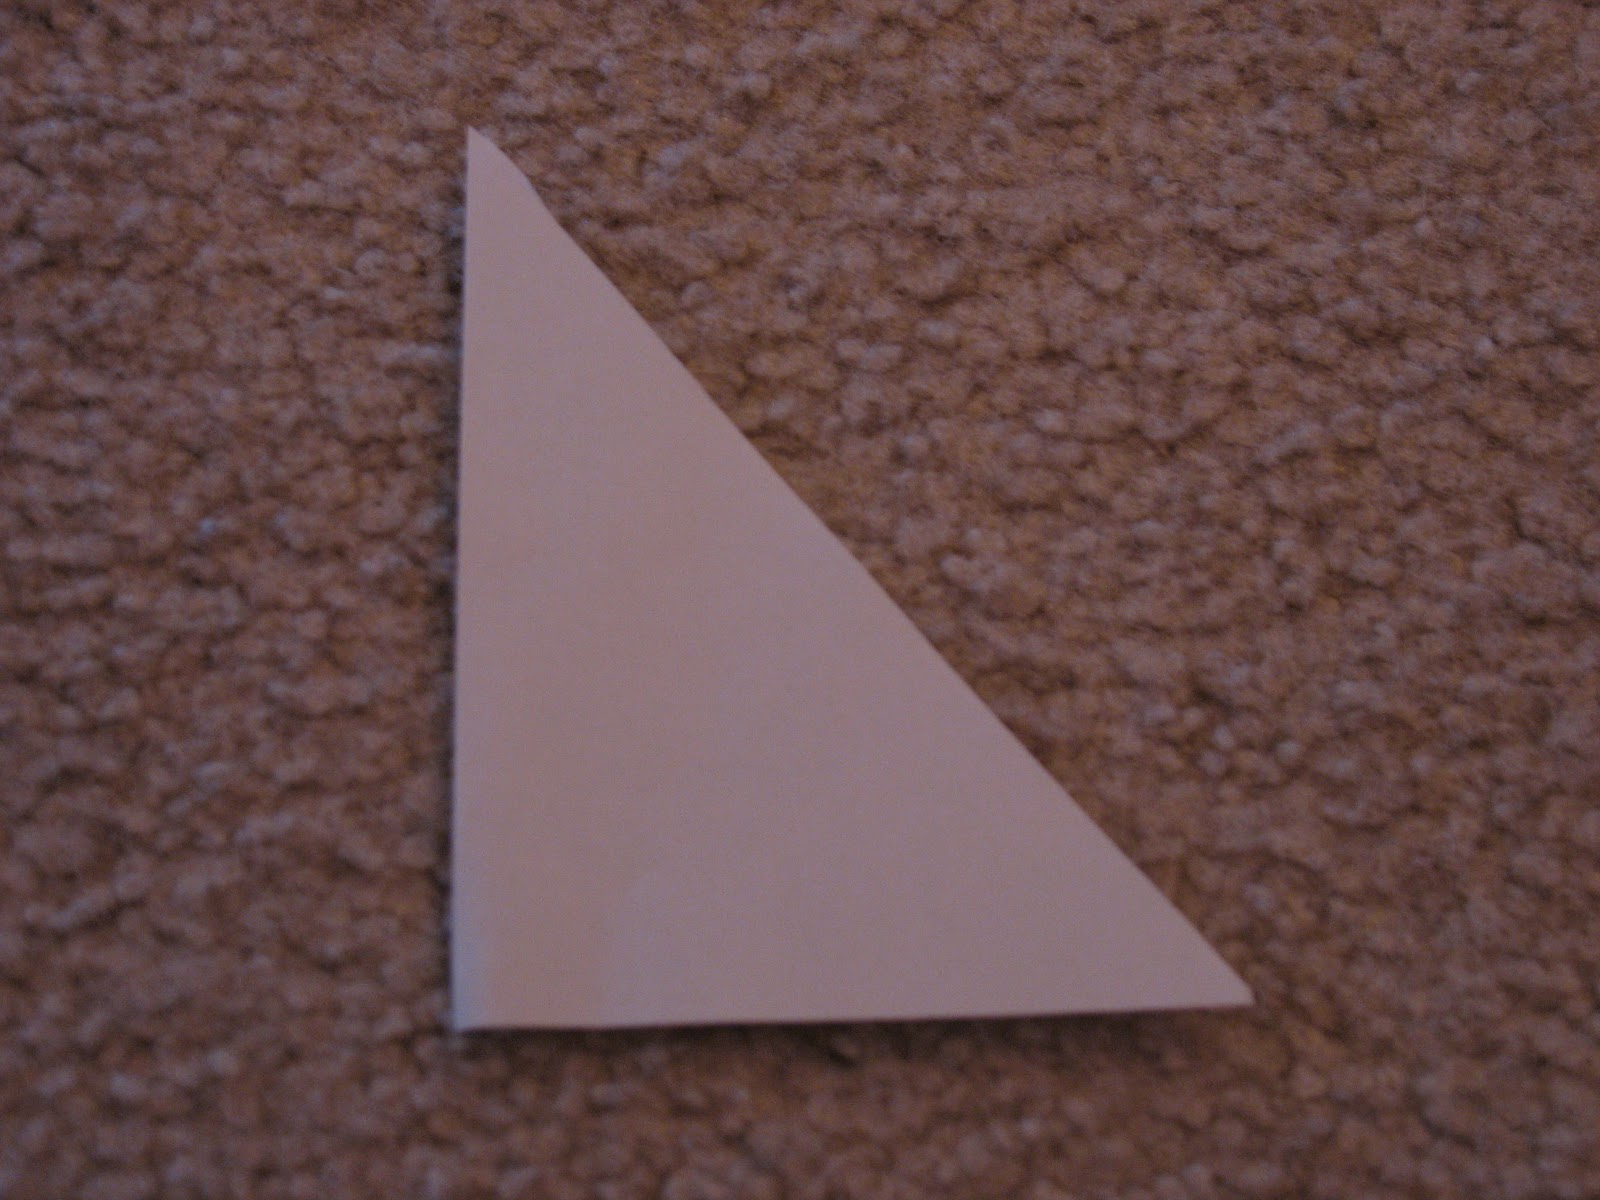
| Hey look, High School math has a use! The top angle on this triangle is approximately 30 degrees. I initially tried one measuring the angles and it was just off enough that parts didn't come together correctly. Go here if you're a little rusty on how to create angles without a protractor. |
 |
| Woohoo! |
 |
| I started off just guessing how wide of an angle these two should be |
 |
| Copied that angle five more times |
 |
| And voila it's symmetrical! Ahh, this makes me happy :) |
 |
| The painting shall now commence! |
 |
| Two thin coats were applied to each side. |
 |
| Tied a ribbon around the white one (which of course has fallen off by this point so no ribbon bow at the moment) |
 |
| Stick a couple of small nails in to hold the green one up |
 |
| There you have it! Pretty snowflakes on the walls without giving yourself carpal tunnel cutting paper! |
If you're looking to pretty your place up a bit before the holidays here are a couple of tips:
- Painting once the design was together was far easier and less time consuming than painting all the Popsicle sticks and then assembling them
- Try to work from the center out and in sections as much as possible. i.e. glue two sticks to create an angle, create the number of these sets you need, then glue each set to what you already have
- Use something to help you get as accurate an angle as possible, whether that be a protractor (I won't lie, I kind of had to look up which geometric tool that was to remind myself...), a piece of paper, or some other method you know of
- Use thin coats of paint as they'll dry quickly allowing you to finish the project in a decent amount of time as well as giving you even coats. I found it best to start at one end of the stick and simply drag my brush to the other end and stop. If I tried going back and forth it only made things worse.
Thanks for reading and happy crafting!


No comments:
Post a Comment